The CDR Processing screen will allow you to run or schedule live or test returns of the CDR process.
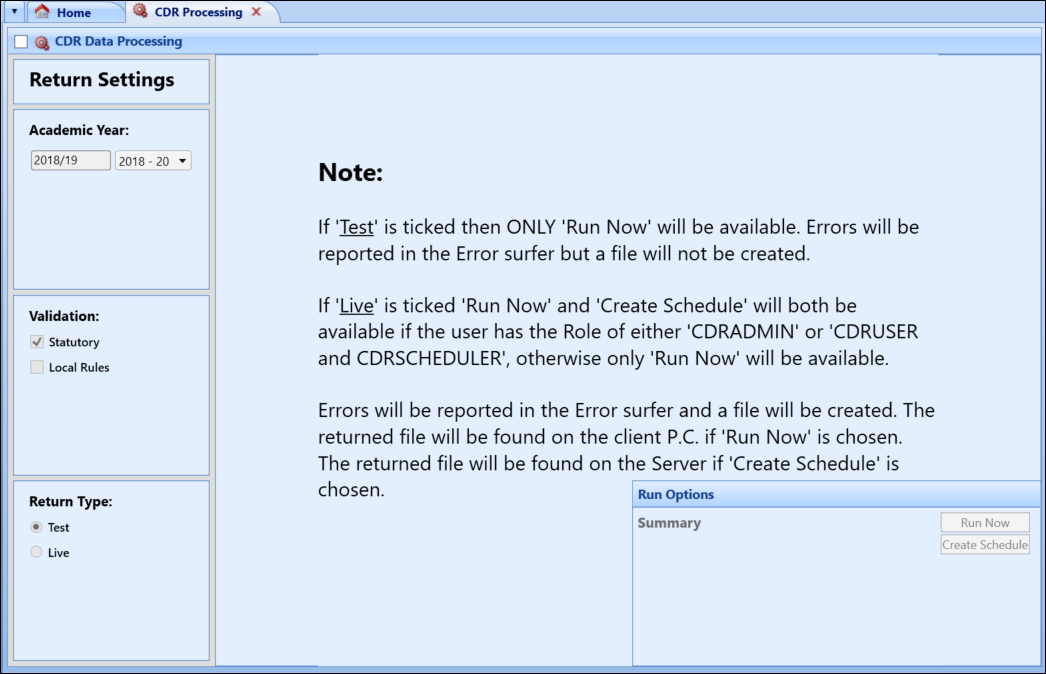
Whether manually running or scheduling a CDR return, you should check that there is not already an existing run in progress or one scheduled to happen at the same time (using the CDR Process Schedules and CDR Process Tracking screens). Simultaneous runs, or runs that start before another has completed, can block the successful completion of either or both processes. Note that only the data from the last run to finish will be preserved in the CDR_SNAPSHOT and CDR (reporting) tables.
The screen is accessed by clicking the CDR Processing button in the CDR group on the Start ribbon.

The CDR Processing screen consists of the following sections:
-
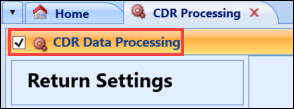
CDR Data Processing check box - users must select this check box to enable any editing on the screen
-
Return Settings
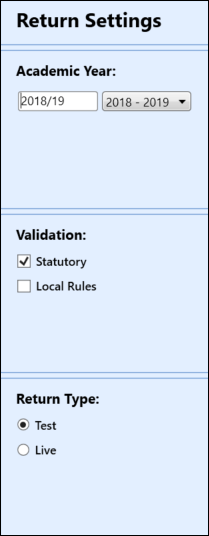
The settings are described in the following table.
| This field | Holds this information... |
|---|---|
| Academic Year | The academic year. |
| Validation |
Whether the validation is statutory, local rules or both. Statutory rules are those rules which the Department for Education (DfE) in Northern Ireland define as required to be met in order for a return to be considered error-free. This is selected by default. Local rules are intended to be rules that a college may wish to write to carry out checks on their data, specific to that particular college. At least one check box must be selected in the Validation section. Refer to Use Validation Manager for further information on validation rules and rulesets. |
| Return Type | Whether the return is a test or live. |
- Run Options - this section contains the following buttons:
Run Now - carries out the return process. The CDR Process Requested window is displayed to outline the progress of the CDR process.
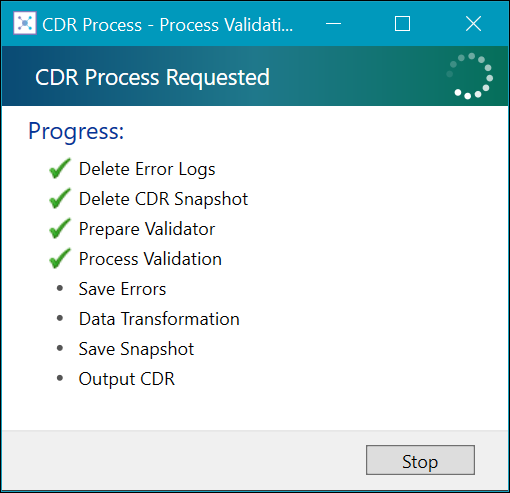
The CDR (reporting) table is not populated when the 'Run Now' option is selected. If you want to run an ad-hoc CDR process and require the outcome to be recorded for reporting purposes, select the Create Schedule option and set the start date and time to run immediately. Alternatively, refer to CDR Process Schedules for further information about scheduling a CDR run, which will populate the CDR (reporting) table.
If the process is live, the output file is generated to the location specified in CDR Settings.
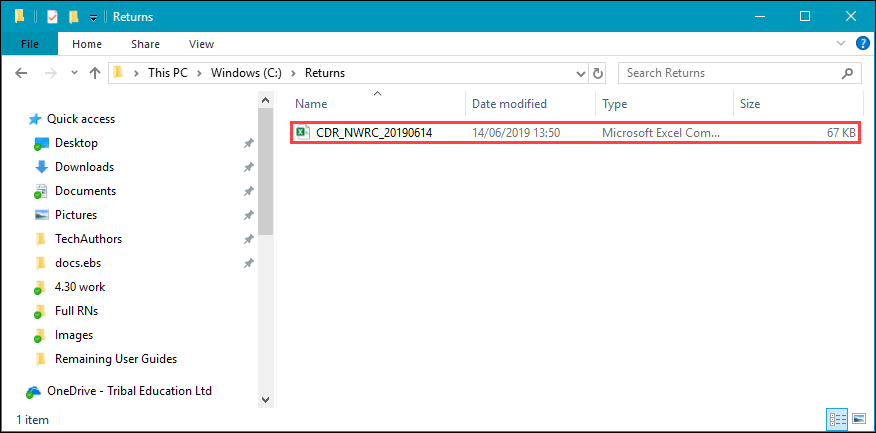
The generated file name is formatted as CDR_<COLLREF>_<YYYYMMDD>.csv.
Create Schedule - allows users to create schedules on the Create schedule window
The Name field is populated automatically based on the current time and date, current user, and the Academic Year and Validation selections on the CDR Processing screen.
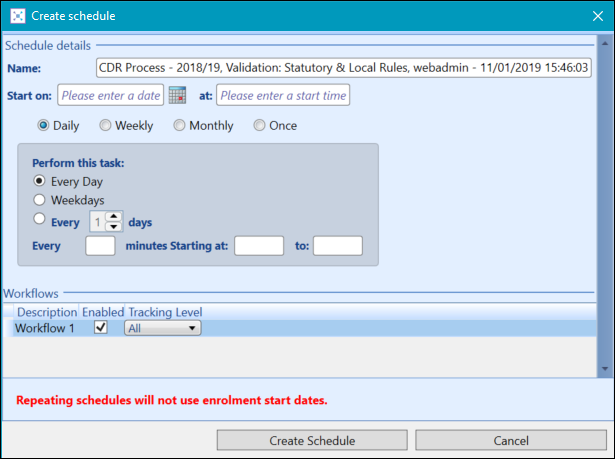
Users must have either the CDR Administrator role or the CDR Processing User and CDR Schedule Creator roles for the Create Schedule button to be enabled. The Live radio button must also be selected.
You can fill in the remaining fields as appropriate, then click the Create Schedule button. The schedule is then created and a trigger is added to the Schedules screen.
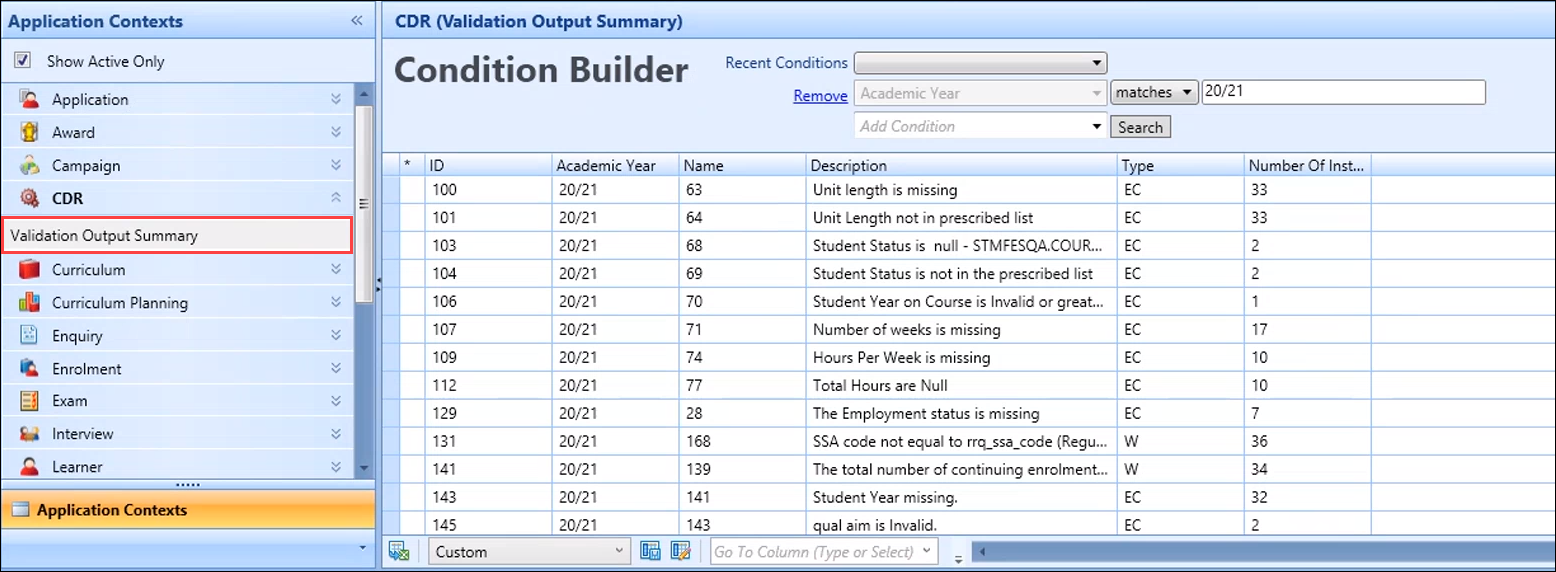
You can use the Validation Output Summary view (in the CDR application context) in Data Miner. This summarises the results of running the CDR process and the resulting validation errors identified, so that you can review the outcome of the process.
